
Installing a wakeboard tower can completely transform your boat. Not only does it make wakeboarding easier and more enjoyable, but it also gives your boat a sleek, upgraded look. However, installation mistakes are surprisingly common, and they can lead to issues like poor fitment, rattling, or even structural damage.
At Big Air Wake Towers, we’ve helped thousands of boat owners install their towers successfully. Here are the most common wakeboard tower installation mistakes we see and how to make sure you avoid them.
Skipping the Measurements
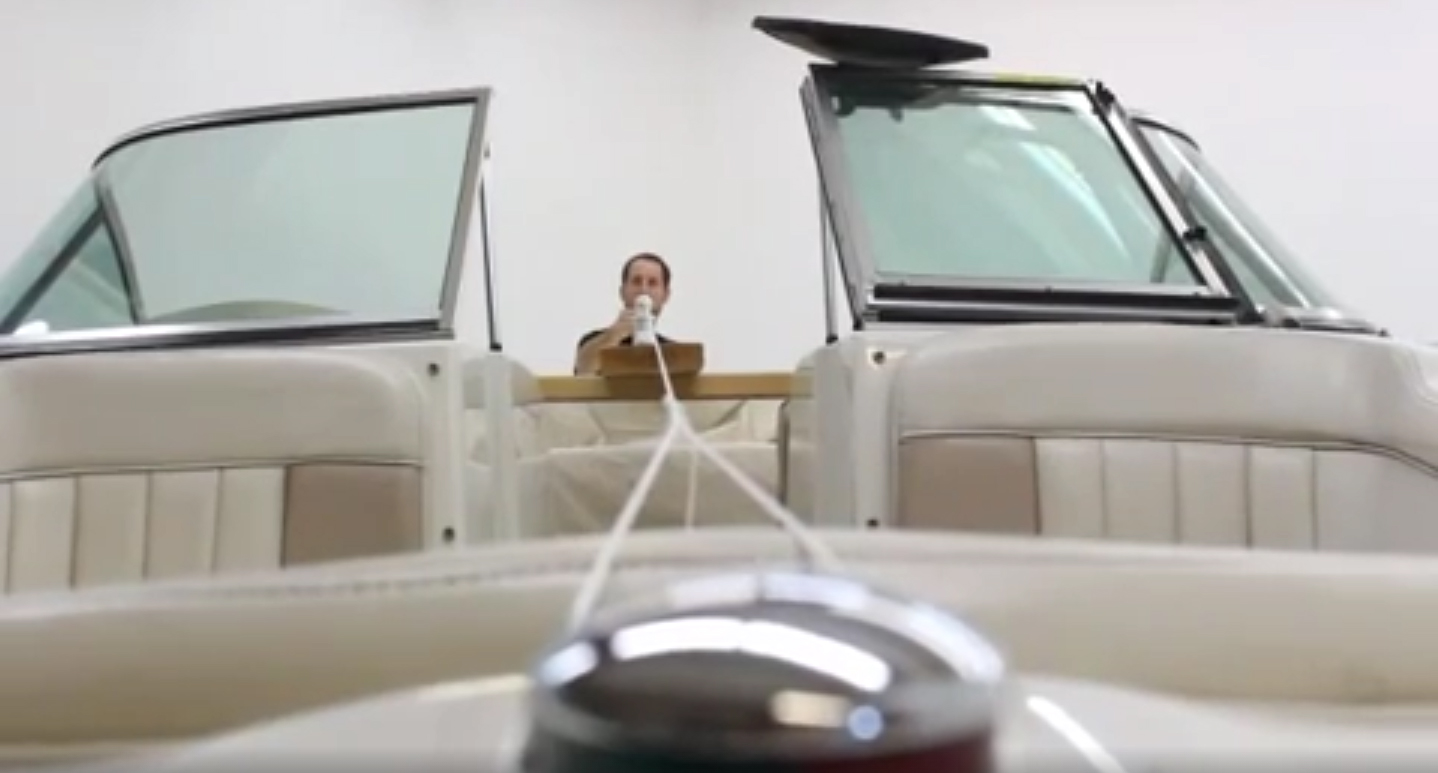
One of the biggest mistakes is rushing into installation without taking accurate measurements. Every boat is different, and sometimes, not truly even on both sides. Even wakeboard towers with a universal fit, like all Big Air towers, (and the most popular Big Air Cuda Tower) have minimum and maximum measurements for fitment and need a more precise measurement for best results. We recommend using a “wooden T” constructed of 2×6’s or 2×4’s to help ensure that you are true on both sides. You can watch our video here for more details.
Tip:
You’ve heard it many times, “measure twice, drill once” and this is no exception.
Measure multiple times before drilling. Mark potential mounting points and verify they allow proper tower alignment and folding clearance. Always check both width and deck contour to ensure the mounting feet sit flush.
Ensuring You Have Clear Access
When installing a wakeboard tower, each of the four mounting points requires access from inside the boat. This is crucial because you’ll need to install hardware and backing plates on the underside of the fiberglass. Many installers make the mistake of selecting locations that can’t be reached once holes are drilled — leading to the need to relocate mounts. Drilling for an access hole can be needed for some boat models.
Tip:
Before drilling, verify that you can easily reach all four mounting locations from inside your boat. Check for obstructions like wiring, fuel lines, flotation foam, or structural braces. You may need to remove panels or interior trim for access. Taking the time to confirm this step will make installation smoother, safer, and cleaner. If you aren’t sure how to create an access hole in your fiberglass, you can watch our video here for details
Skipping the Test Fit / Not Accounting For Accessories
Many installers make the mistake of assuming all towers are the same and begin drilling right away, only to find the tower doesn’t fold properly or interferes with their windshield or bimini. Before drilling holes, think about all of these things. Where will it sit when collapsed? What about the accessories you plan to add — such as racks, biminis, or tower speakers? Installing your tower without planning for these extras can lead to clearance issues or awkward placements later.
Tip:
Doing a soft assembly of the tower and test fitting to your boat helps ensure that you have room to climb in and out of the boat, or more importantly, room to collapse without any interference. If you plan to add wakeboard racks, look at options like our Hydro Series Racks or Razor Series Racks. For shade, check out the Big Air Super Shadow Bimini Top, which is designed to fit over most towers.
Ignoring Reinforcement Needs
Your wakeboard tower mounts can experience a lot of stress, especially when pulling riders. Without proper backing plates or reinforcements, the fiberglass can crack or fatigue over time. For our wakeboard towers, we require the fiberglass to be 3/8″ thick.
Tip:
Always use the supplied backing plates and hardware. While we do provide backing plates with all of our wakeboard towers, they are part of the mounting hardware and do not count towards your hull thickness. If you are under 3/8″ thick, we recommend reinforcing the hull with a Hull Reinforcement Kit.
Forgetting to Chamfer or Counter-sink Drill Holes

Drilling into your boat is nerve-wracking, but leaving a straight edge can cause long-term damage.
Tip:
Use a ceramic ball or counter-sink bit at each hole through the fiberglass. This simple step will help ensure there is no cosmetic chipping or cracks in your gel coat.
Avoiding These Mistakes = A Professional Finish
Installing your wakeboard tower correctly ensures a solid fit, better performance, and years of fun on the water. Take your time, plan ahead, and don’t hesitate to reach out if you have questions.
If you’re looking for a tower that’s easy to install, built to last, and looks incredible, explore our most popular models:
- Big Air Cuda Tower — Sleek, universal fit, and simple installation
- Big Air Twister Tower — Modern design with built-in swiveling racks
- Big Air Ice Tower — Classic design with proven durability
- Big Air Super Shadow Bimini — Ultimate shade for your tower setup
Here are Big Air, we want to ensure you are confident in your choice. That begins with knowledge and education in the process. Did we miss anything? We’d love to hear your thoughts and any tips or tricks that have helped you along the way.