Adding a wakeboard tower to your boat not only enhances its style but also improves performance and functionality for watersports. This quick guide breaks it down into clear, actionable steps so you can understand the process, even if you plan to have a professional do the installation.
Step 1: Gather Your Tools and Equipment
Before you start, make sure you have everything you’ll need:
Tools & Materials:
- Wakeboard tower parts and hardware
- Variable Speed Drill with drill bits and chamfer bit or counter-sink bit
- Measuring tape & level
- Socket set or wrench
- Masking Tape and Sharpie
- Ratchet Straps
- Light Petroleum Based Lubricant or Blue LocTite
💡 Tip: Having all tools ready saves time and prevents mistakes mid-installation.
Step 2: Choose the Mounting Location
All Big Air wakeboard towers have four mounting points; two front and two rear. Our towers are universal and can be mounted as a top mount (on the top of the gunnels) or a side mount. Depending on the wakeboard tower style, (standard or reverse swept) they are intended to be mounted in your preferred location along the hull, just ensure you have clear internal access (inside the hull) to those four locations.
What to Check:
- Ensure clear access from inside the hull to secure bolts
- Position the tower so it’s centered and aligned with the boat
- Confirm no obstructions for any accessories you plan to add
- Use masking tape to cover the areas where your base mounts will attach
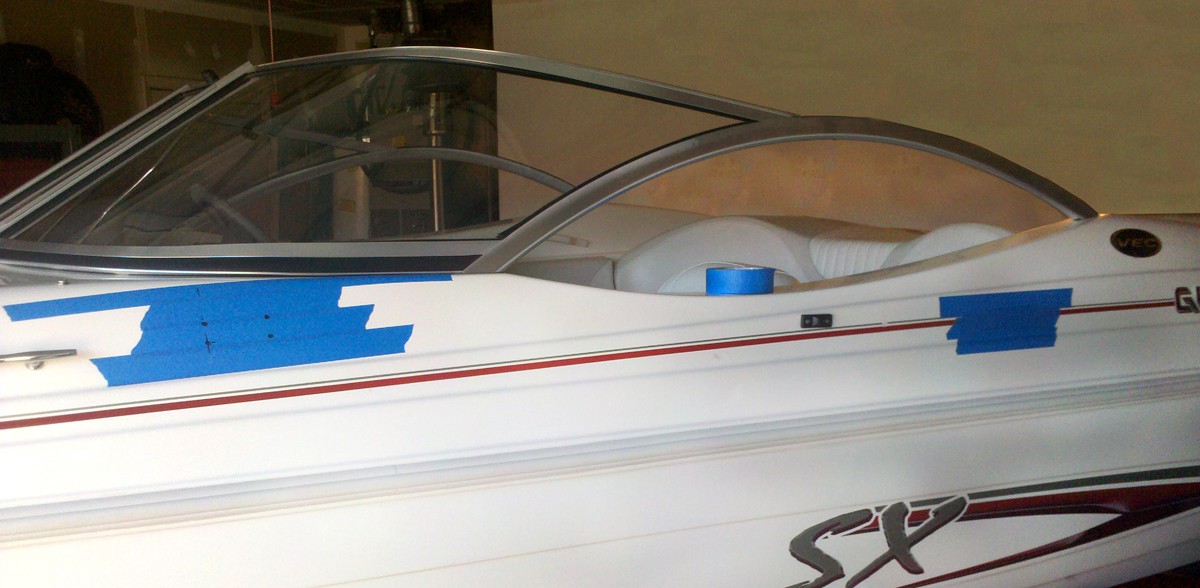
Step 3: Check Your Hull Thickness
Your boat hull needs to be strong enough to handle the tower’s weight and pull. Our recommended thickness is 3/8” fiberglass or greater.
Ways to Check:
- Drill a small pilot hole and measure depth
- Use a caliper if accessible
- Consult your boat manufacturer’s specs
⚠️ Warning: Installing on thin or weak fiberglass can cause damage. Refer to our post about How to Reinforce Your Hull, for further information.
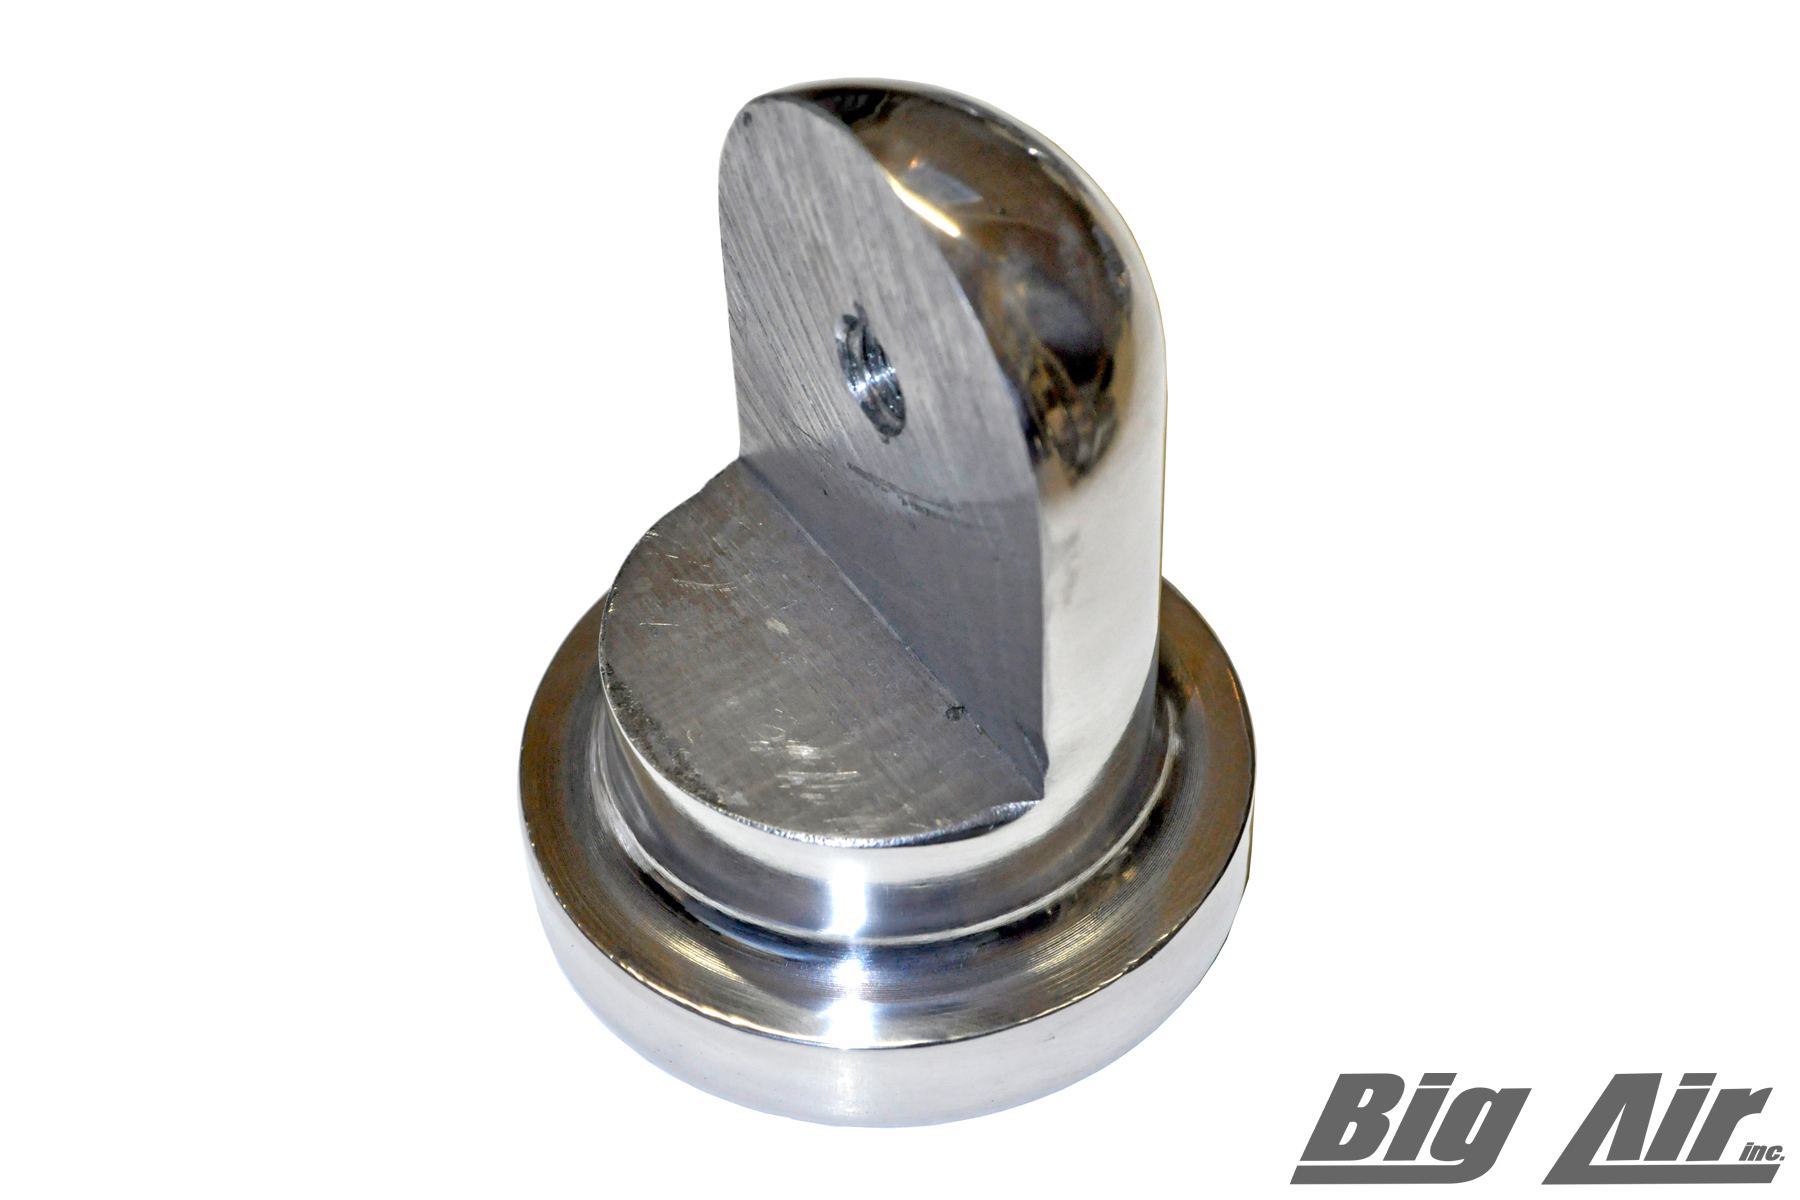
Step 4: Install the Base Mounts
- Drill for the mounting bolts. Chamfer or counter-sink the hole to keep from gel coat cracking.
- Attach the base mounts securely to the hull. We currently use a 3″ circular mount, as shown.
- Ensure mounts are level and aligned with each other.
💡 Pro Tip: Double-check measurements before drilling.
Step 5: Soft Assemble and Attach the Tower
- Do a soft-assembly of the wakeboard tower, keeping bolts loose for adjustment.
- Lift the tower into place (with help, towers can be heavy!).
- Bolt the tower onto the base mounts.
- Adjust the angle, if your model supports it, to ensure proper alignment.
💡 Pro Tip: If you are running wiring for any wakeboard tower accessories, the soft-assembly is a great time to run it through before your final installation. While wiring can be done after installation as well, it can be easier during the assembly process. The choice is up to you!
Step 6: Tighten and Secure
- Re-align and tighten all bolts and fasteners.
- Ensure the tower is level and stable.
- Confirm all mounts are secure from inside the hull.
⚠️ Safety Check: A loose tower can damage your boat and cause injuries.
Step 7: Add Accessories
Now that the tower is secure, you can customize it:
💡 Tip: Adding accessories after installation ensures proper clearance and alignment.
Step 8: Enjoy!
Your wakeboard tower is now ready for action!